Sign-up for our mailing list to receive updates on new products, sales, and giveaways!
BasculeBonnets
Shop
About
Gallery
Cart (
0
)
0
BasculeBonnets
Shop
About
Gallery
Contact Us
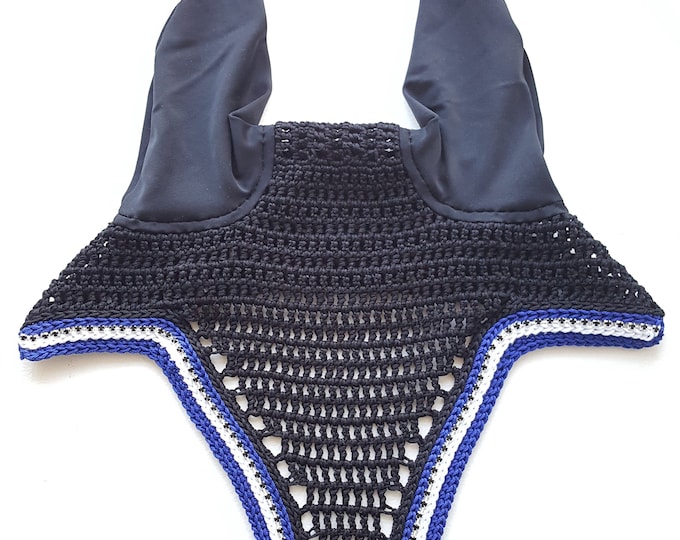
Featured Item
Black Horse Fly Bonnet with Royal Blue and White Trim
$105.00
Shop Now
Collections
Create Your Own
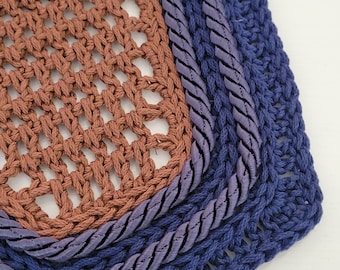
Customized Horse Bonnets
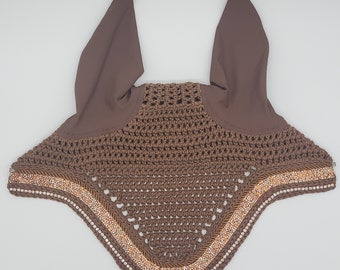
Pre-Made Horse Bonnets
Accessories for You
0 items in your cart
Close
Keep shopping! :)
Legal imprint
Close

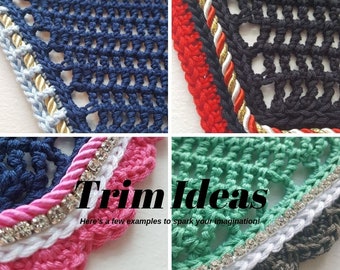 Create Your Own
 Customized Horse Bonnets
 Pre-Made Horse Bonnets
 Accessories for You